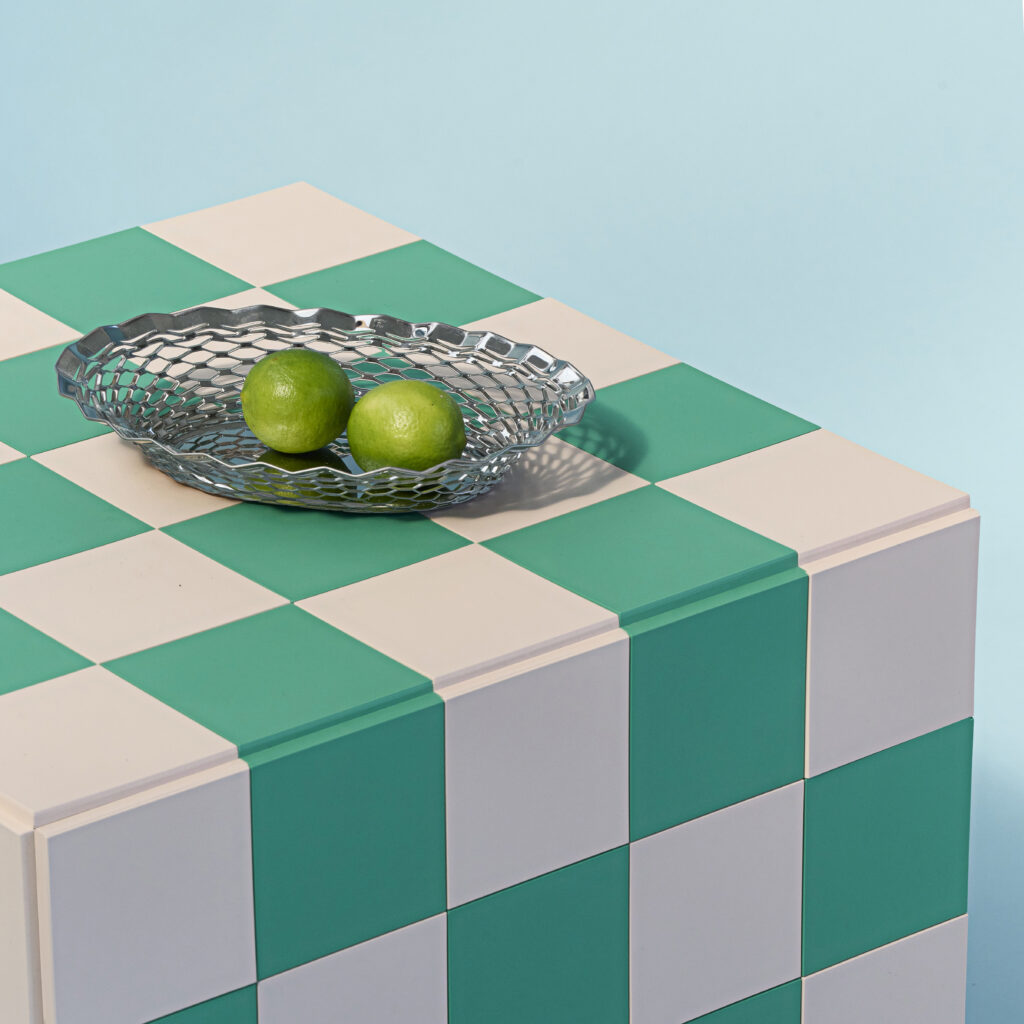
How to build a Click’n Tile cube
06
Feb
Feb
Are you up for some DIY furniture building?
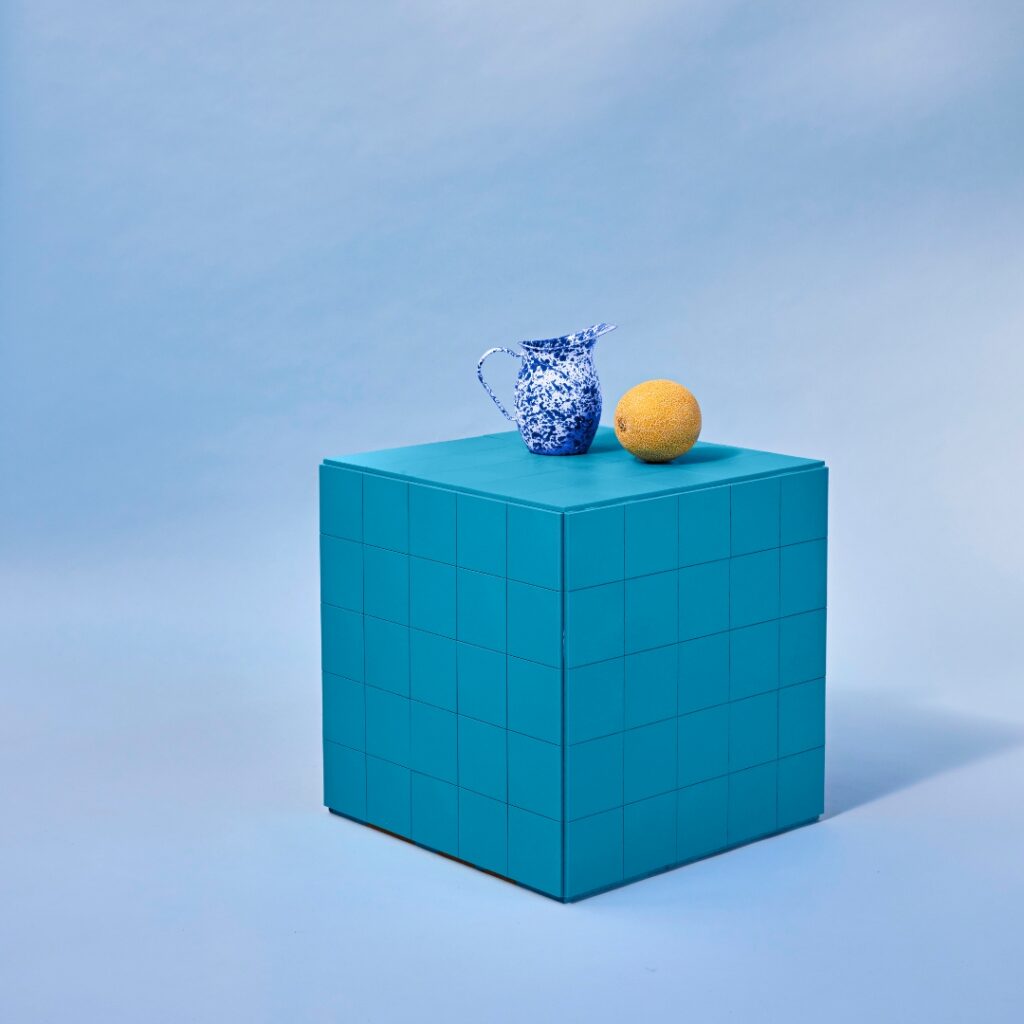
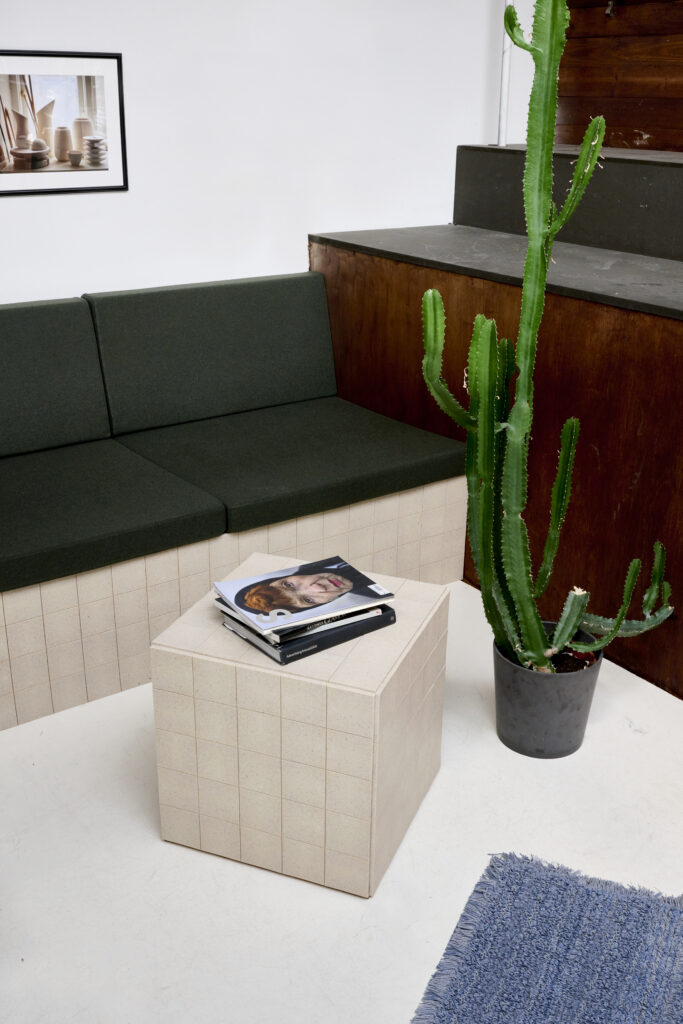
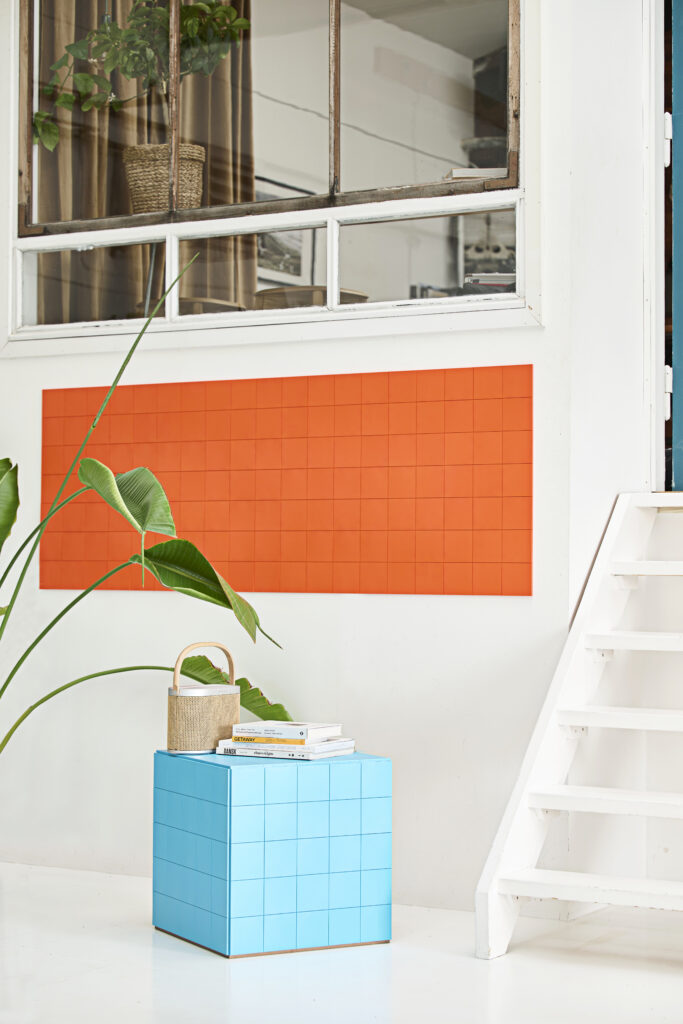
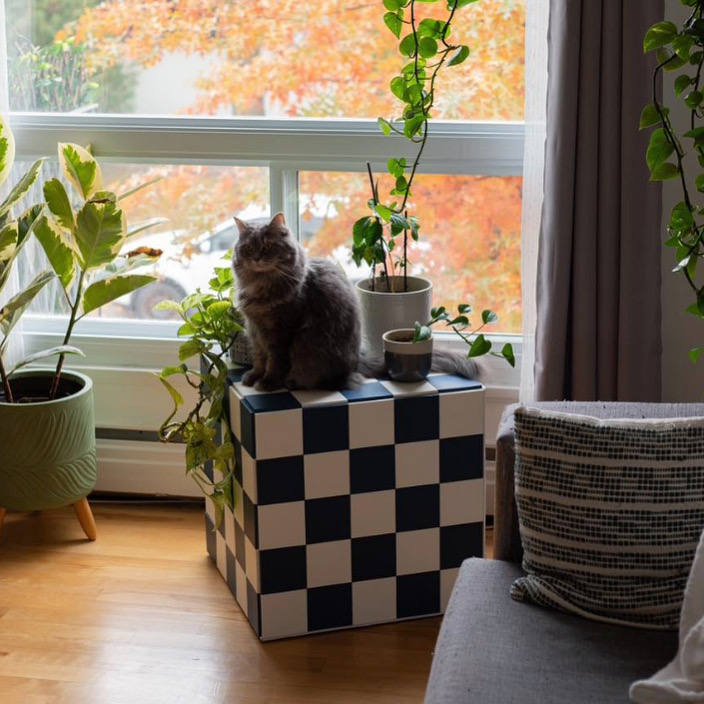
Our Click’n Tile cubes are a fan favorite—but many think they’re hard to make. The truth? They’re simple and fun to build! Here’s your step-by-step guide to creating a stylish and functional cube:
Materials needed:
- MDF veneer sheets (must match these dimensions):
- 1 piece: 49.8 × 49.8 × 0.9 cm (top plate)
- 2 pieces: 49.8 × 50 × 0.9 cm (large side panels)
- 2 pieces: 48 × 50 × 0.9 cm (small side panels)
- Wooden moulding (square, 1.5 × 1.5 cm):
- 4 pieces: 20 cm (for the top plate)
- 4 pieces: 45 cm (for the side panels)
- Wood glue
- 48 wood screws (2mm × 20mm)
- Click’n Tile set:
- 2 large mounting plates
- 125 tiles (10×10 cm) – 25 tiles per side
- 2 tubes of mounting adhesive
- 1 suction cup
Assembly Instructions:
Step 1: Prepare Your MDF Boards
Sort your MDF boards into three stacks to avoid mixing them up.
Step 2: Attach Wooden Mouldings
- Take the two small side panels (48 × 50 cm).
- On both 50 cm edges, glue and screw a 1.5 × 1.5 × 45 cm wooden moulding.
- Attach a small wooden moulding along the edge that meets the top plate—it should run parallel to the edge without sticking out or being too far inside.
- Now, take the large side panels (49.8 × 50 cm) and attach a small wooden moulding along the 48 cm edge.
- Let the glue dry.
Step 3: Assemble the Frame
- Connect one large and one small side panel to form a square tube (49.8 × 49.8 cm, 50 cm high).
- Ensure the small mouldings face upwards.
- Glue and screw the panels together, then let the glue dry.
Step 4: Attach the Top Plate
- Position the top plate (49.8 × 49.8 cm) over the side panels, aligning it with the small wooden mouldings.
- Glue and screw it in place.
- You now have a wooden cube measuring 49.8 × 49.8 × 50.9 cm.
Step 5: Prepare the Mounting Plates
- Cut the mounting plates to 49 × 49 cm (they must not be visible once the tiles are installed).
- Attach tiles to all five mounting plates.
Step 6: Install the Tiles
- Flip the tiled mounting plates over and apply mounting adhesive.
- Attach each plate to the corresponding side of your cube, ensuring tiles are properly spaced and not overlapping.
- Press firmly to secure them.
- Use painter’s tape if needed to hold everything in place while the adhesive dries.
Congratulations! You’ve built a Click’n Tile Cube! ????
Also read
The Color of 2025: PANTONE’s Mocha Mousse
PANTONE has officially unveiled the Color of the Year 2025: Mocha Mousse. Described as a [...]
Jun
Transform Your Wall with Click’n Tile into a Click’n Tile Chalkboard
Transform Your Walls with Click’n Tile: More Than Just Design At Click’n Tile, it’s all [...]
Jun
3D Click’n Tile CREATE: Unleash Your Creativity at Home with Your Own Design
At Click’n Tile, we believe your home should reflect your personality, style, and journey. That’s [...]
Jun
Your dreamy pastel kitchen is waiting for you
Have you ever scrolled through Instagram or Pinterest and found yourself mesmerized by the soft, [...]
May
Renter-friendly tiles: Stylish solutions without commitment
Renting a home comes with plenty of perks—flexibility, less responsibility for major repairs, and the [...]
Apr
Bring Easter Cheer to Your Home with Crushed Banana
Perfect Easter Decorations for Your Kitchen and Beyond with Crushed Banana Tiles Easter is the [...]
Apr
Spring is coming to town — invite it to your home
As the days grow longer and the air fills with the promise of warmer weather, [...]
Mar
Why Click’n Tile is the perfect tile solution for camper vans
Unlike ceramic tiles, which can crack under vibrations and movement, Click’n Tile is designed to [...]
Feb